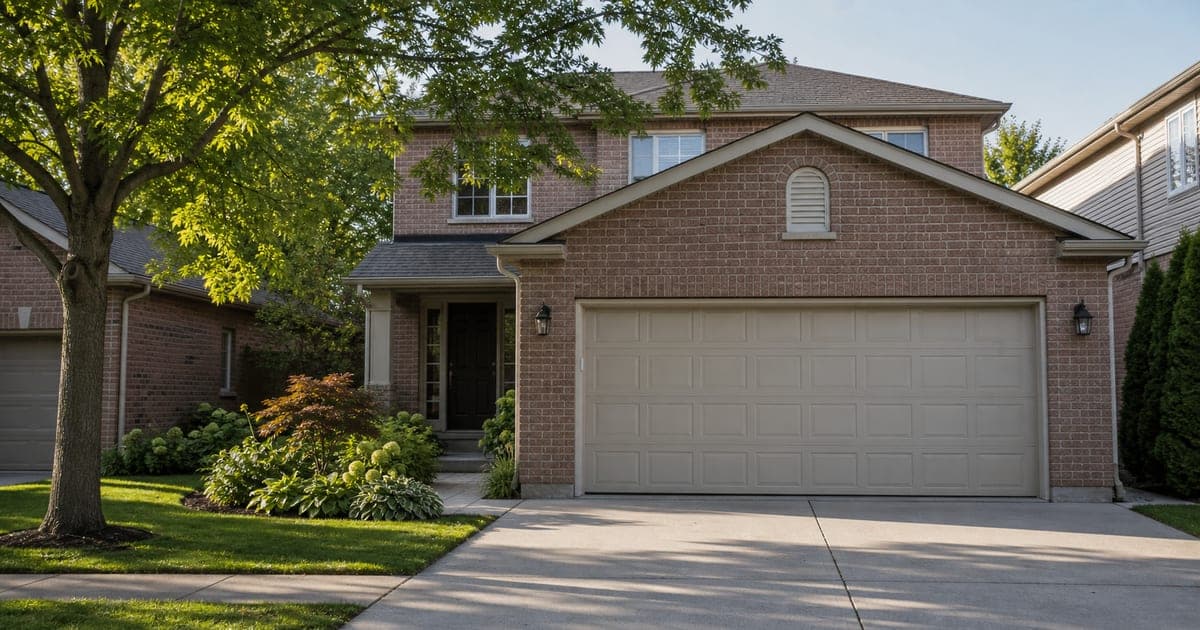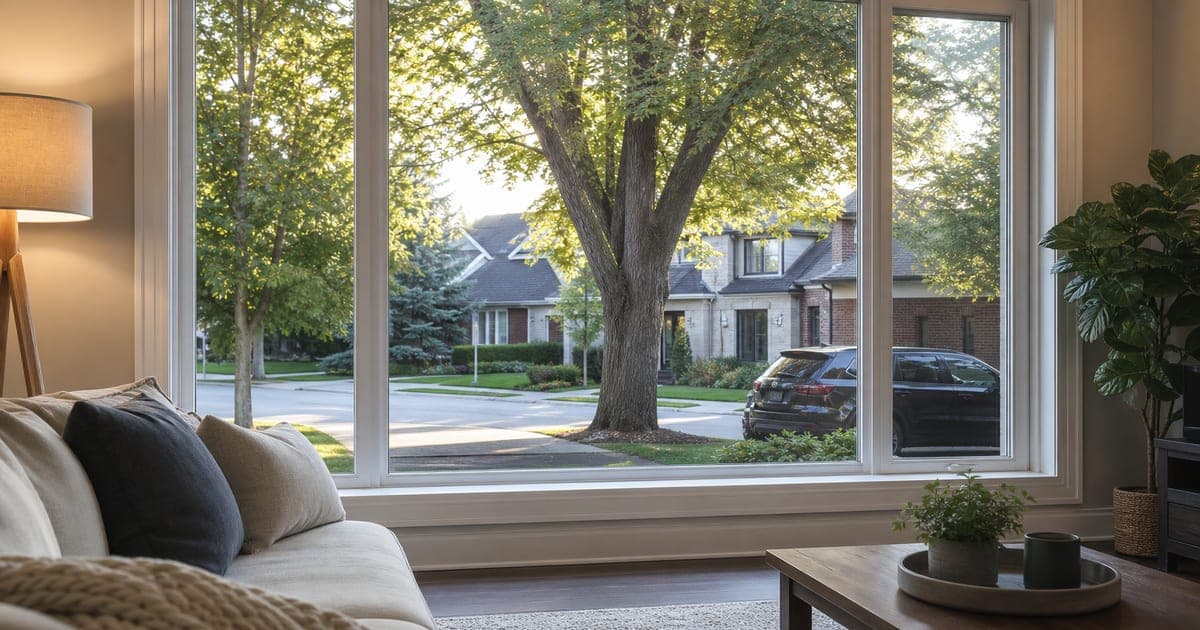
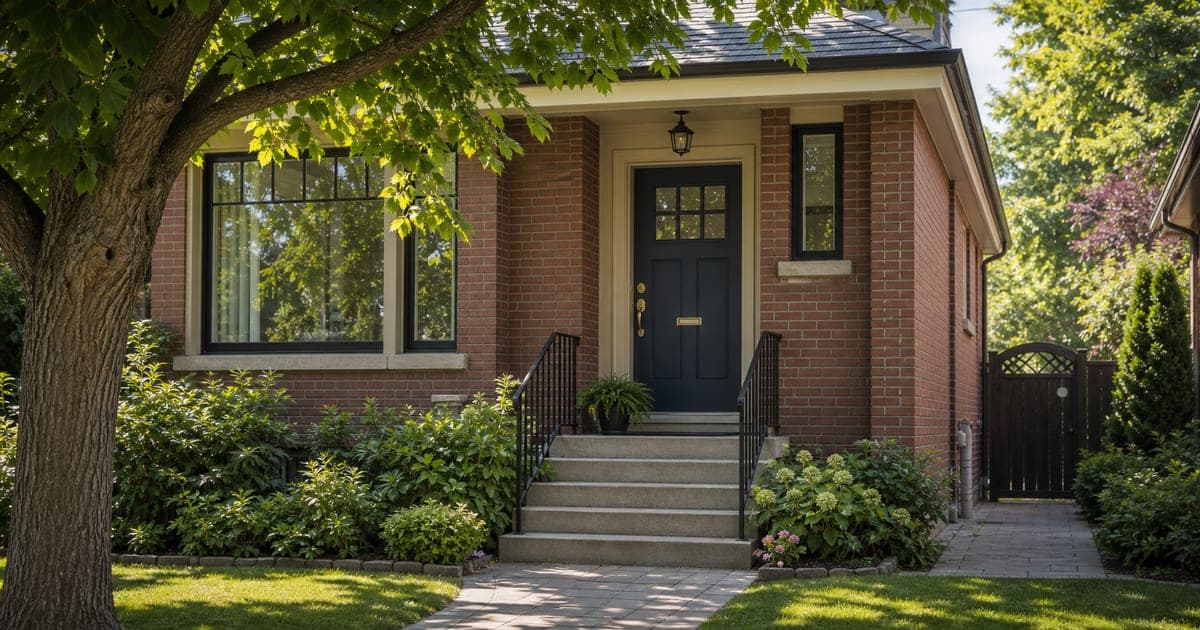
A Six-Stop Forced-Entry Walk-Around for GTA Homes
A forced-entry walk-around turns a vague concern into a useful property plan. Start outside, move around the house in one direction, and record what you can see at each entry point.
This is an observation exercise. Do not kick a door, pry a frame, remove hardware, or strike glass. A professional assessment is the right place to confirm construction, glazing, and suitable upgrades.
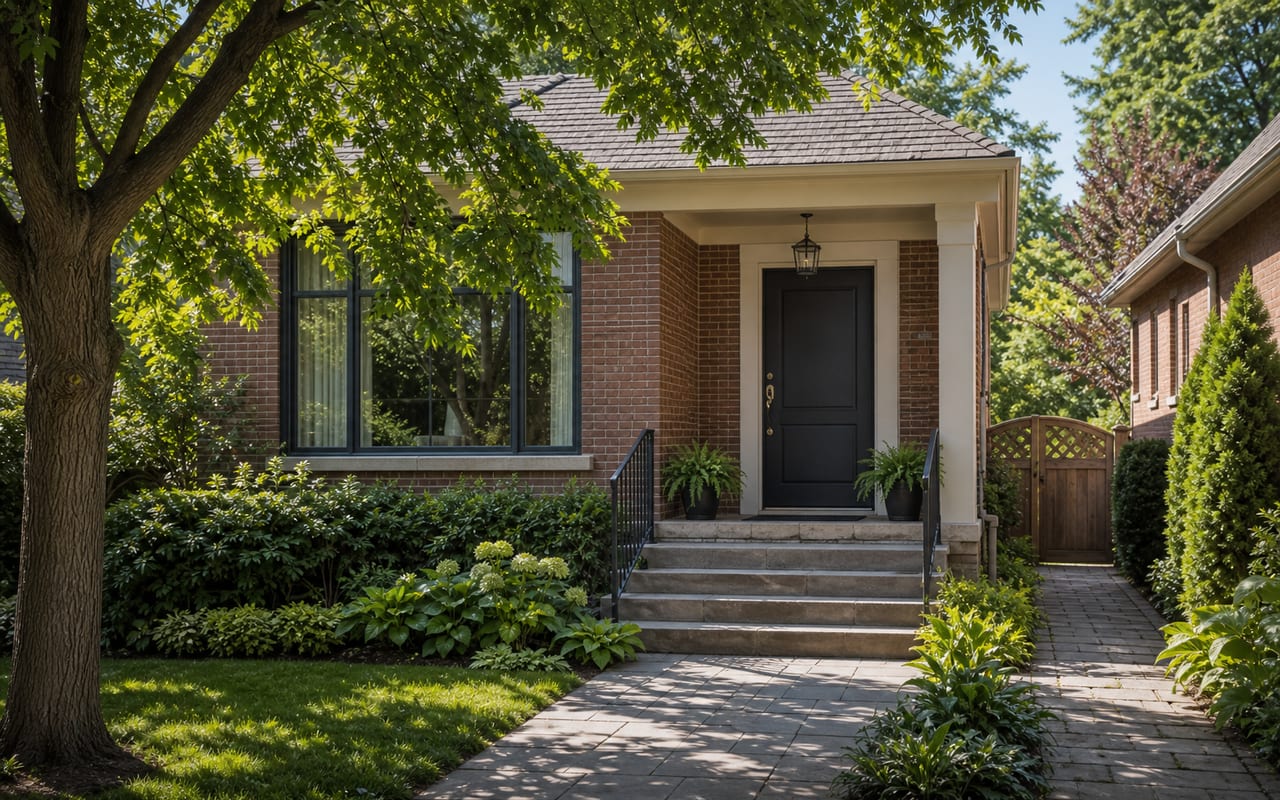
Before you begin the forced-entry walk-around
Bring a notepad and a flashlight. Note the condition of each door, frame, window, latch, and nearby sightline. Photos can help you remember details, but avoid including house numbers or neighbours.
Use three simple labels: review soon, monitor, or no visible concern. The labels are prompts for discussion, not a security score.
Stop 1: front door, frame, and lock alignment
Begin with the whole door assembly. Check whether the door closes squarely, the deadbolt moves freely, and the strike zone shows loose trim, cracking, or previous repairs.
Do not assume a new lock fixes the frame around it. A lock, door, hinges, and frame work together. Clear Guard assesses the assembly before recommending ARX Guard door fortification.
Read Why Your Front Door Might Be Your Biggest Security Risk for a closer look at the relationship between locks and frames.
Stop 2: glass beside door hardware
Look for sidelights, door inserts, and other glass near an inside handle or thumb-turn. Record its position and whether a person outside could reach the hardware after clearing the pane.
Do not guess the glass type from appearance alone. Tempered, laminated, and insulated glass can look similar. Film selection also depends on the pane, frame, access, and attachment method.
Sidelight Glass on Heritage Front Doors explains why glass and door hardware should be reviewed together.
Stop 3: patio sliders and rear glass
At the rear of the house, check the patio slider, its latch, any secondary lock, and the condition of the frame. Also note whether fences or landscaping limit casual visibility.
Do not force the latch or try to lift the panel. Record what is present and whether the glass sits beside a handle or lock.
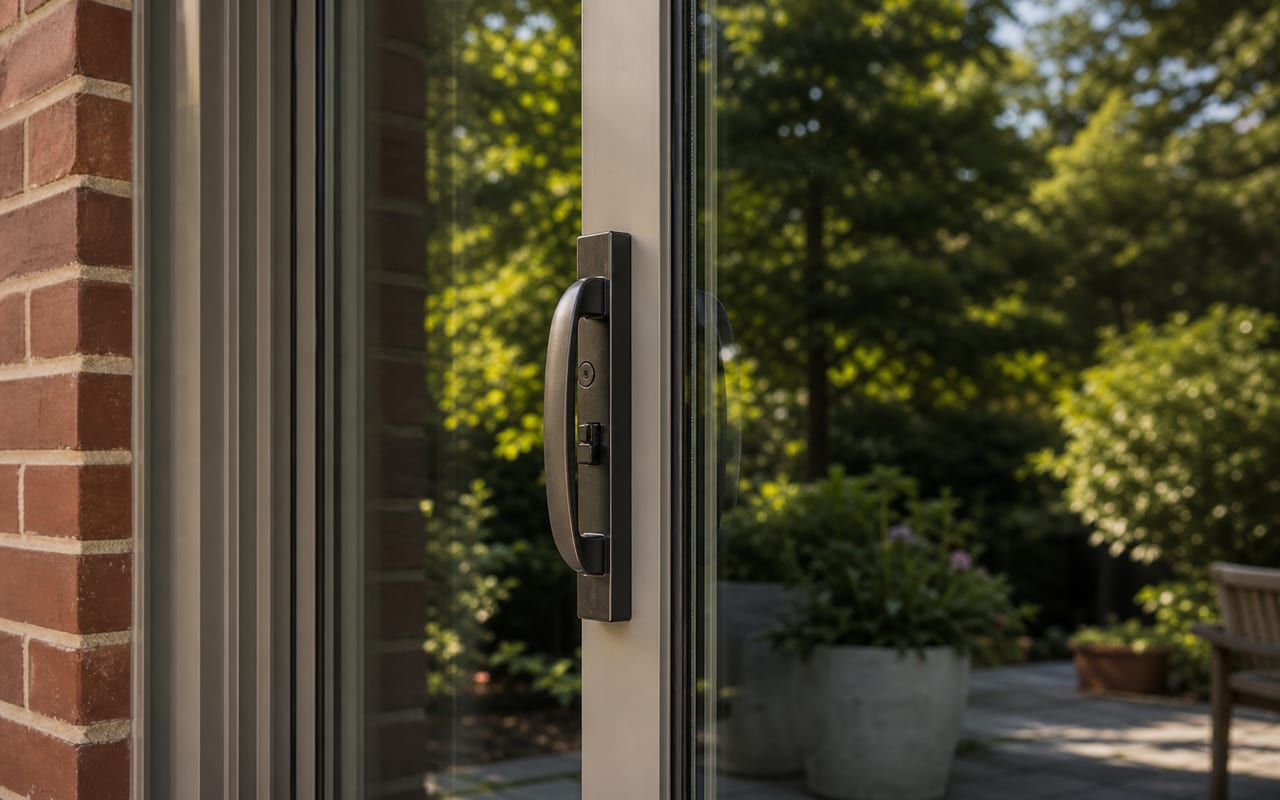
Read Patio Door Security for GTA Homes for a fuller review of sliders, frames, and glass.
Stop 4: basement and grade-level windows
Walk the foundation line and note windows close to grade. Check for damaged frames, loose hardware, blocked sightlines, or glass beside an interior latch.
Never block a required bedroom-egress path or alter a window's life-safety function. The goal is to identify questions for an assessment, not to improvise a permanent fix.
Basement Windows and Grade-Level Glass covers these windows in more detail.
Stop 5: the door between an attached garage and the home
From inside the garage, inspect the passage door without changing it. Confirm that it closes and latches, then note damage, poor alignment, loose trim, or a deadbolt that does not move freely.
Ontario's Building Code treats this door as a barrier against gases and exhaust fumes. It must be tight-fitting, weatherstripped, and self-closing under the applicable requirement.
Do not remove a closer, weather seal, or labelled door. Any security work should preserve those life-safety functions and the door's reliable operation.
Also review where garage remotes and vehicle keys are stored. Vehicle Key Storage and Your Garage Door covers that separate layer.
Stop 6: side and rear hinged doors
Finish at mudroom, walkout, and garden doors. Apply the same checks used at the front: alignment, lock operation, strike-zone condition, nearby glass, and visibility from the street.
A less visible door is not automatically weak. It does deserve the same deliberate review as the front entry.
Turn your notes into an assessment plan
| Stop | Record | Discuss during an assessment |
|---|---|---|
| Front entry | Alignment, strike-zone condition, nearby glass | Whether the door assembly needs fortification |
| Door glass | Distance from glass to inside hardware | Whether the glass and frame suit security film |
| Patio slider | Latch, secondary lock, frame, sightlines | Glass, frame, and attachment options |
| Lower windows | Height, condition, visibility, egress role | Which panes need attention and which do not |
| Garage passage door | Closing, latching, labels, weatherstripping | Security options that preserve life-safety functions |
| Side and rear doors | Alignment, hardware, glass, visibility | Relative priority beside the front entry |
For residential glass, Clear Guard's primary system combines 14 mil interior film with 7 mil exterior film on the same pane. Most clients receive both layers after a glass, frame, access, and site assessment.
Where privacy is also needed, 12 mil frosted matte is an interior security film with privacy. An 8 mil interior-only system is a selective option, not Clear Guard's standard residential recommendation.
Security film helps retain fractured glass and adds resistance. ARX Guard door fortification adds resistance to the door assembly. Neither product makes a home impossible to enter.
Frequently asked questions
Do I need tools for a forced-entry walk-around? No. A notepad and flashlight are enough. Observe visible conditions and leave destructive or technical testing to a qualified assessment.
Should every reachable window receive security film? Not automatically. Priority depends on the pane, frame, access, sightlines, nearby hardware, and how the room is used. An assessment should separate meaningful exposure from low-priority glass.
What should I do with a concern at the garage passage door? Record the condition and avoid changing the closer or weatherstripping. Clear Guard can assess security needs, while code or fire-safety questions may require the appropriate building professional.